
Last updated: 20/07/2026
Firm biceps are one of the most sought-after muscle groups because they make your arms look strong and balanced. The good news is that biceps are fairly easy to train and show results quickly if your technique is right. Let’s explore 7 effective bicep exercises for beginners with The New Gym.
Bicep Anatomy to Know Before You Train
Before getting into the list of bicep exercises, it helps to understand that the front of the upper arm has 2 main muscle groups. Each needs specific exercises to develop fully:
- Biceps Brachii: The largest muscle on the front of the upper arm, with 2 heads (long head and short head). This is the muscle that forms the “peak” of the bicep when you flex.
- Brachialis: Sits deeper, beneath the biceps. This muscle determines the thickness of your arm from the side.
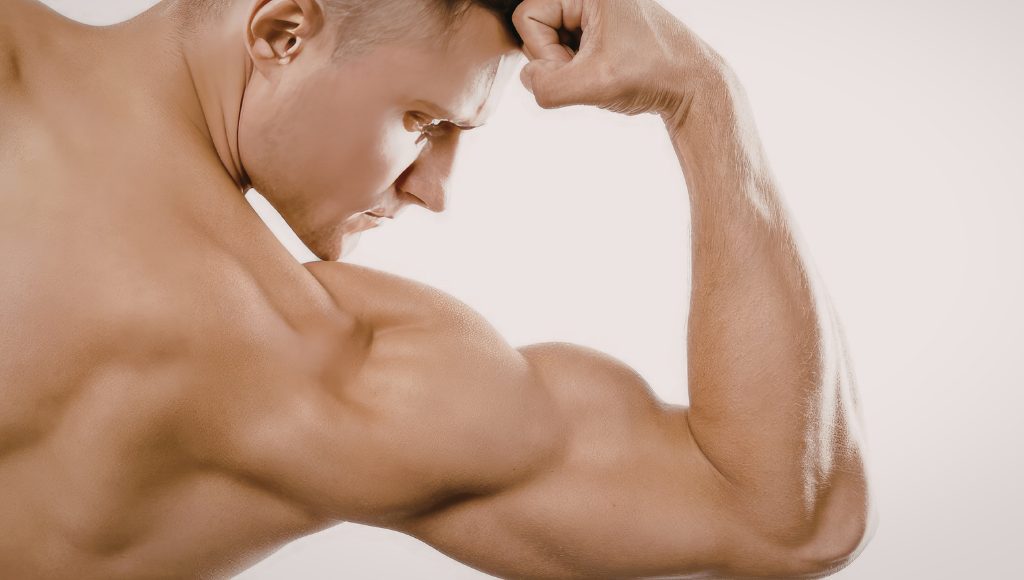
Understanding this anatomy helps you choose exercises that hit both heads so your biceps develop fully. The long head sits on the outside and creates the peak when you flex; it’s best activated by exercises with the arms behind the body, like the Incline Curl. The short head sits on the inside and adds thickness, trained well by exercises like the Preacher Curl. There’s also the brachialis deep underneath, which pushes the bicep up and makes it look bigger as it develops.
Proper technique matters because the biceps are small and easily overpowered by bigger muscles like the back and shoulders if your form is off. Controlling the movement and squeezing the target muscle develops the biceps far better than using momentum.
Benefits of Training Biceps Regularly
Bicep exercises for men are among the most popular in the gym because the aesthetic results are so visible. But the real-world benefits go beyond looks:
- Firm, muscular arms: The biggest aesthetic factor, especially for men. Good-looking arms boost confidence in social situations and in how your clothes fit.
- Stronger pulling: Training biceps makes pulling exercises (Pull-ups, Rows) more effective thanks to stronger biceps. See also 9 effective back exercises to build on your bicep strength.
- Easier daily activities: Lifting things, carrying kids, playing sports… all need strong biceps.
- Balanced upper body development: Strong biceps keep your physique balanced, avoiding the common “big chest, skinny arms” look.
- Preventing elbow injury: Strong biceps reduce stress on the elbow joint during compound lifts.
Many people think bicep training is just for show, but these muscles actually support almost every pulling exercise, which is key to developing your back and whole body.
7 Bicep Exercises for Beginners
Dumbbell Bicep Curl
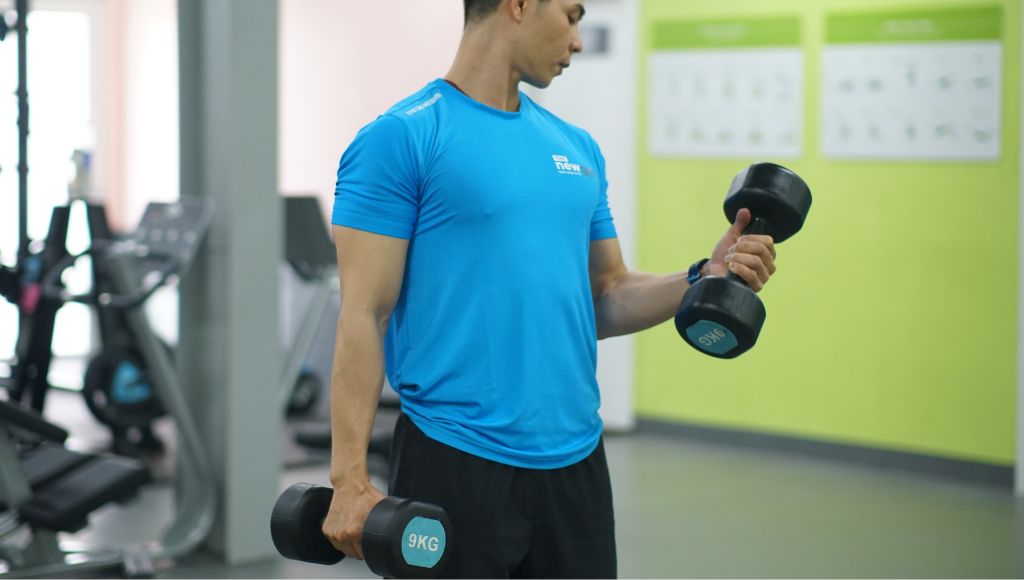
This is considered the “classic” exercise and a must in any bicep training plan. It directly stimulates the biceps, making your arms rounder and firmer.
Detailed step-by-step guide:
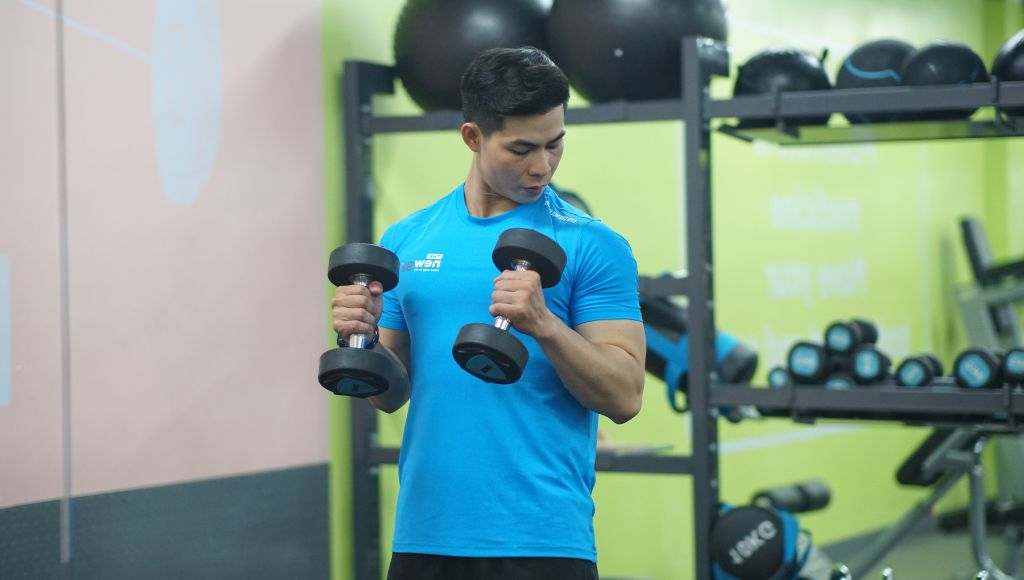
Step 1 – Starting position: Stand tall with feet shoulder-width apart for stability. Hold a dumbbell in each hand, arms hanging close to your body, palms facing your thighs. Keep your back straight, chest slightly lifted and eyes looking forward.
Step 2 – Curl the weight: Breathe out and use your biceps to curl the weights toward your shoulders. As you lift, rotate your wrists smoothly so that at the top your palms face your shoulders.
Tip: Keep your elbows fixed by your sides and don’t swing your arms for momentum.
Step 3 – Squeeze and lower: Hold the weights at the top for about 1 second to feel the muscle fully contract. Then breathe in and lower the weights slowly and under control to the start.
Reps: Do 10–12 reps per set, for 3–4 sets for best results. If you want more variety with dumbbells, see our complete guide to dumbbell arm exercises.
Important tips for beginners:
- Don’t use momentum: Many beginners swing their back to heave heavy weights up. This not only takes work away from your biceps but can easily injure your lower back.
- Control the tempo: Lowering slowly and under control (about 2–3 seconds) keeps the muscle under load longer and limits momentum.
Assisted Pull-Up
Pull-ups are a great exercise for developing your entire back and especially your biceps. For beginners, pulling your whole bodyweight is very hard. That’s why the assisted machine at The New Gym is a good place to start building foundational strength.
Detailed step-by-step guide:
Step 1 – Set up the machine: Adjust the assistance weight on the machine.
Note: Unlike other machines, the heavier the assistance weight, the easier it is to pull yourself up. Choose a weight that lets you do the movement with the most control.
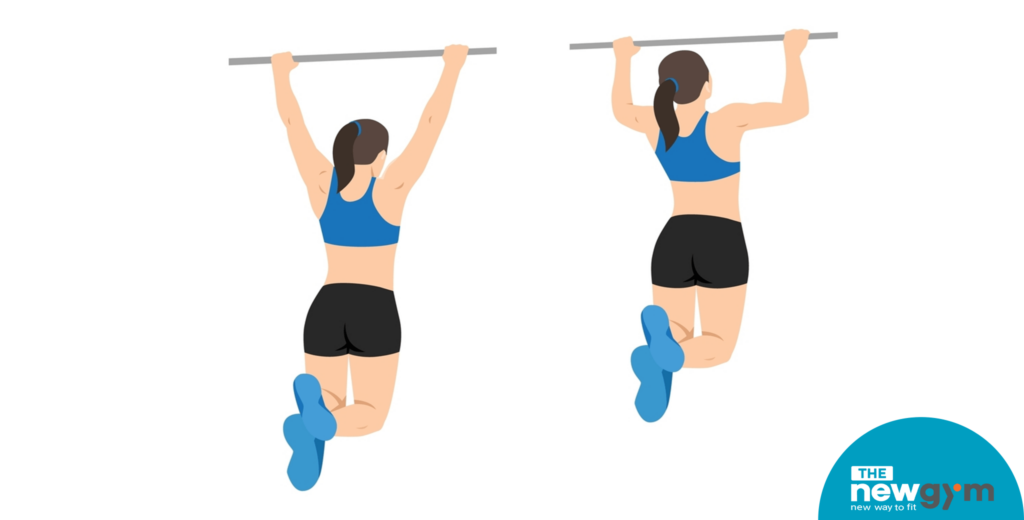
Step 2 – Starting position: Step onto the platform and grip the bar firmly. For a bicep focus, have your palms facing you (Chin-up grip). Kneel or stand on the assistance pad, keeping your back straight and shoulders relaxed.
Step 3 – Pull up: Breathe out and use your biceps and lats to pull yourself up. Focus on bringing your chest toward the bar until your chin clears it. Imagine pulling your elbows down to your hips to activate the muscles better.
Step 4 – Lower under control: Breathe in and slowly lower your body until your arms are almost fully straight. Never let the machine drop or fully relax your muscles.
Other assisted variations: Without a machine, you can loop a resistance band over a pull-up bar for assistance, or rest your feet on a chair to take off some bodyweight.
Tips for beginners:
- Don’t tense your shoulders: Keep your shoulders down and avoid shrugging as you pull, so the load goes into your biceps and back.
- Feel the muscle: Focus on squeezing your biceps at the top to get the most out of the exercise.
Hammer Curl
If you want thicker arms and strong forearms, the Hammer Curl is a must. Unlike a traditional curl, it works deep into the brachialis and forearm muscles, making your arms look bigger from the side.

Detailed step-by-step guide:
Step 1 – Starting position: Stand tall with feet shoulder-width apart, a dumbbell in each hand hanging by your sides. The key difference here is that your palms face your thighs (as if holding a hammer). Lightly brace your abs and keep your back straight.
Step 2 – Curl up: Breathe out and use your biceps to curl the weights toward your shoulders. Throughout the movement, keep your palms facing each other and never rotate your wrists.
Step 3 – Peak squeeze: As the weights near your shoulders, hold for 1 second and squeeze your biceps to feel maximum tension in the brachialis and forearms.
Step 4 – Lower under control: Breathe in and slowly lower the weights to the start. Go slower than on the way up so the muscle stays under controlled load.
Tips for beginners:
- Freeze your elbows: Imagine your elbows are nailed to your sides. Only your forearms move, which fully isolates your biceps and avoids tiring your shoulders.
- Say no to “body swinging”: Never lean back to heave the weight up. If you find yourself swinging your back, drop the weight a little to keep your technique spot on.
Preacher Curl
If you want your biceps to grow without being able to “cheat” with momentum, the Preacher Curl is the top choice. The angled bench locks your upper arms in place, forcing your biceps to do 100% of the work.
Detailed step-by-step guide:
Step 1 – Starting position: Sit at the Preacher bench and adjust the height so your armpits fit snugly against the top edge of the pad. Rest your upper arms fully on the pad and hold a bar (or dumbbells) with palms facing up.
Step 2 – Curl up: Breathe out and use your biceps to curl the weight toward your shoulders. Only your forearms move; keep your upper arms pressed firmly against the pad.
Step 3 – Peak squeeze: At the top, squeeze your biceps hard for 1 second to feel the full contraction.
Step 4 – Lower slowly: Breathe in and slowly lower the weight until your arms are almost straight.
Tip: Never fully straighten your arms (locking the elbows), to protect the joint and keep tension on the muscle.
Important tips for beginners at The New Gym:
- Breathe properly: The rule is to breathe out as you lift (the hardest part) and breathe in as you lower (the easier part). This keeps your heart rate steady and helps your endurance.
- Don’t chase heavy weights: Since this is an isolation exercise, choose a moderate weight so you can move through the full range of motion. Good technique with a light weight beats bad technique with a heavy one.
Cable Curl
The biggest difference between the Cable Curl and dumbbell work is constant tension. With dumbbells, there are “rest” points where the muscle isn’t working very hard, but with the cables at The New Gym, your biceps stay under load from the start to the end of the movement.
Detailed step-by-step guide:
Step 1 – Set up the machine: Set the cable pulley to its lowest position. Attach a straight bar or an EZ bar to the clip. Choose a weight that lets you fully control the movement.
Step 2 – Starting position: Stand facing the machine, feet shoulder-width apart. Grip the bar firmly with palms facing up. Keep your back straight, chest slightly lifted and elbows tucked against your sides.
Step 3 – Curl the cable: Breathe out and use your biceps to curl the bar toward your shoulders. Keep your upper arms fixed and move only your forearms. Imagine you’re trying to squeeze a ball between your forearm and bicep.
Step 4 – Hold and lower: At the top (when the bicep is fully contracted), pause for 1 second to feel the muscle fibres fire. Then breathe in and slowly lower the bar to the start. Don’t let the weight stack pull your arms down too fast.
Tips for beginners at The New Gym:
- Don’t let the plates touch: On the way down, stop just before the weight plates touch. This keeps the muscle working the whole time for the best arm training results.
- Vary your grip: You can switch to a rope attachment for a variation that targets the thickness of your biceps and forearms.
Concentration Curl
As the name suggests, this exercise helps you “concentrate” all your focus and strength on each bicep. At The New Gym, it’s a favourite among beginners because you can clearly feel your biceps contract, building height and definition.
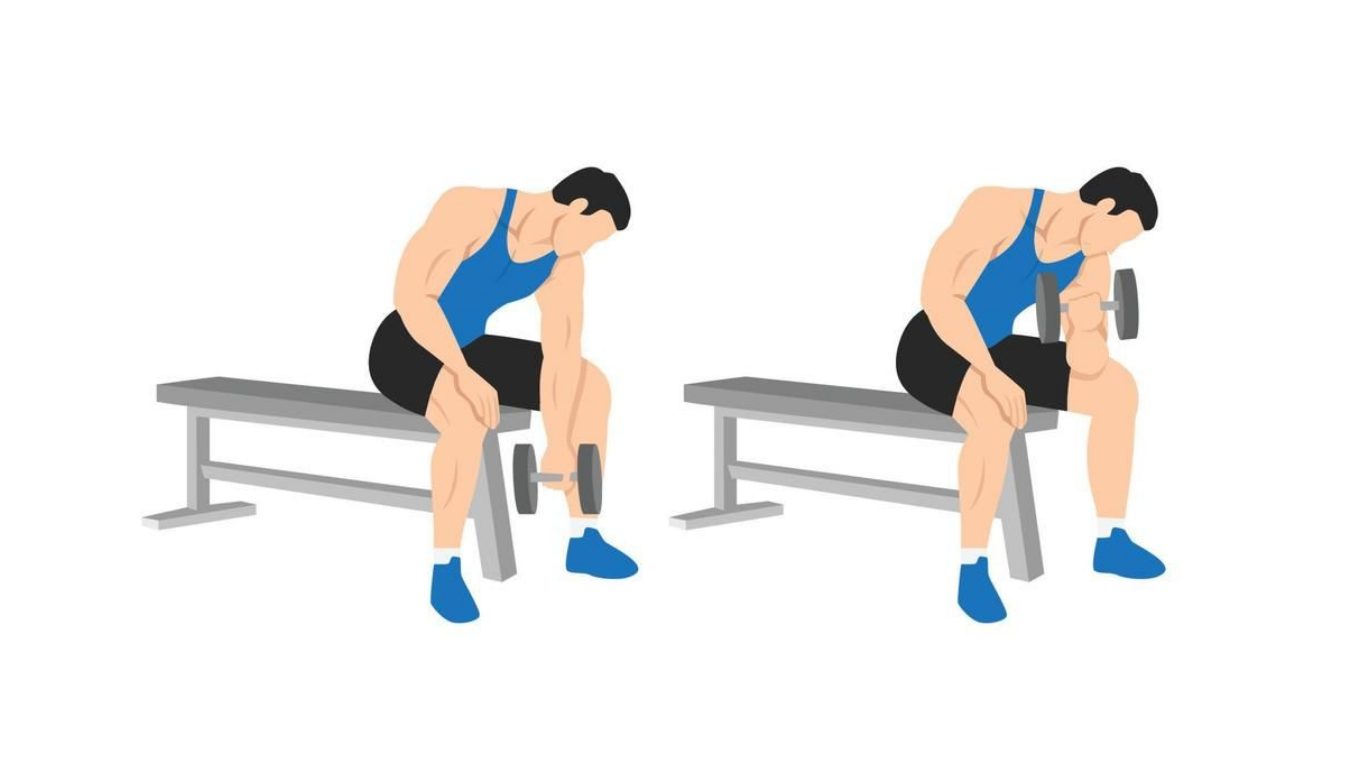
Detailed step-by-step guide:
Step 1 – Starting position: Sit on the edge of a bench, feet wider than shoulder width and planted firmly on the floor. Hold a dumbbell in your right hand and rest the back of your right elbow against the inside of your right thigh (near the knee). Your left hand can rest on your left thigh for stability.
Step 2 – Curl up: Breathe out and use your bicep to curl the weight toward your chest. With your arm braced on your thigh, it can’t swing, so this arm exercise works very deep into the target muscle.
Step 3 – Peak squeeze: At the top, squeeze your bicep hard and hold for 1 second. This is when the bicep is fully contracted.
Step 4 – Lower under control: Breathe in and slowly lower the weight to the start. Extend your arm almost fully but don’t let the weight touch the floor, so the muscle stays under constant tension. After 10-12 reps, switch to your left arm.
Tips for beginners at The New Gym:
- Don’t use your wrist: Keep your wrist straight and fixed throughout the curl. Bending the wrist too much shifts the load to your forearm instead of your biceps.
- Focus on the feeling: Look directly at your bicep as you train (that’s why it’s called “Concentration”). The mind-muscle connection helps the muscle grow faster.
Incline Dumbbell Curl
The Incline Dumbbell Curl puts your arms behind your body, stretching the long head of the bicep more. It helps your biceps look longer and fuller.
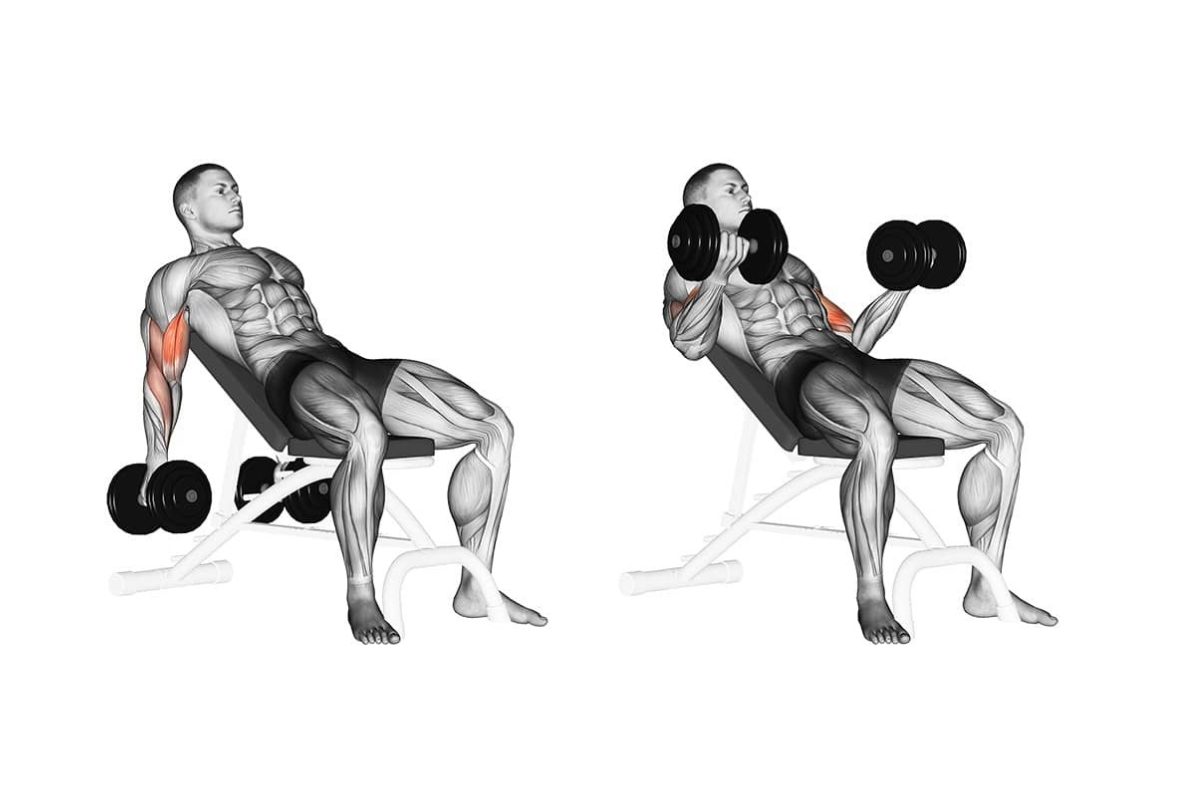
Detailed step-by-step guide:
Step 1 – Set up the bench: Set a bench at The New Gym to an incline of about 45–60 degrees. Sit down and rest your back and head comfortably on the pad. Hold a dumbbell in each hand with arms hanging toward the floor, palms facing forward.
Step 2 – Curl up: Breathe out, keep your shoulder blades fixed and use your biceps to curl the weights up. Key point: move only your forearms, keeping your elbows pointing straight down at the floor rather than drifting forward.
Step 3 – Feel the tension: At the top, squeeze your biceps for 1 second. You’ll feel your biceps working very hard.
Step 4 – Lower slowly: Breathe in and lower the weights very slowly until your arms are almost straight. This is the most important phase of the exercise for stimulating muscle growth.
Tips for beginners at The New Gym:
- Don’t lock your elbows: At the bottom, keep a very slight bend in your elbows. Fully straightening and relaxing can put harmful stress on the joint when training heavy.
- Keep your head and back on the bench: Never lift your body off the bench as you curl. Keeping your back on the pad removes momentum completely and forces your biceps to work at full capacity.
See also: Top 7 Most Effective Tricep Exercises for Beginners
Tips to Avoid Injury When Training Biceps
Even though the biceps are a small, easy-to-train muscle, many people still get injured from poor technique. To train biceps effectively, follow these principles:
- Warm up your arms and shoulders thoroughly: Rotate your wrists, elbows and shoulders for 5-10 minutes before your main work. A light 5-minute cardio session helps get the blood flowing.
- Keep your elbows fixed: This is the most common mistake: many people swing their elbows as they curl. Your elbows should stay close to your body and still, with only your forearms moving.
- Choose a manageable weight: Beginners should use only 5-6kg per hand and increase gradually once the technique feels natural. Bad technique with heavy weights causes shoulder and elbow injuries.
- Control a slow tempo: Curl up over 1-2 seconds and lower over 2-3 seconds. Going too fast relies on momentum instead of your arm muscles.
- Don’t train biceps every day: The biceps need 48-72 hours to recover. 1-2 sessions a week is ideal; training too much leads to overtraining.
Frequently Asked Questions About Bicep Exercises
Here are the 5 most common questions people have about bicep exercises:
How many times a week should I train biceps?
1-2 sessions a week is ideal, with at least 48-72 hours between sessions for recovery. Even though the biceps are a small muscle group, training them too much can easily lead to overtraining. Beginners can start with 1 session a week and add more once they’re used to it.
If you’re new, see our 4-day-a-week gym plan for men for a clear routine so you don’t feel lost.
Which bicep exercises are best for beginners?
3 core exercises to prioritise: the Dumbbell Curl (simple and easy to control), the Hammer Curl (gentle on the wrists) and the Concentration Curl (isolates the biceps well). The Assisted Pull-up also works well because the machine reduces the load; only try unassisted Pull-ups once you’re strong enough.
Can I train biceps at home without equipment?
Absolutely, with 5-8kg dumbbells and a pull-up bar. You can do Dumbbell Curls, Hammer Curls and Chin-ups effectively at home. Without weights, full water bottles or a resistance band can stand in for now.
See also: Tips for training biceps at home for firm arms.
Which muscle group should I pair with biceps?
Biceps pair best with back in the same session. Almost every back pulling exercise (Pull-up, Row) needs the biceps to help, so training them together saves time and works much better than training them separately.
How long until my biceps visibly grow?
For beginners with good technique and enough protein (1.6-2g per kg of bodyweight), your biceps will feel firmer after 6-8 weeks. After 3-4 months you’ll see clearly bigger, fuller biceps. The deciding factors are consistency and proper technique.
Bicep training isn’t complicated, and it’s a muscle group that shows results quickly if you stay consistent with good technique. Just add a few of the 7 exercises above to your Pull day, control the movement and avoid momentum, and your biceps will gradually get firmer and more balanced. What matters most is good form and enough recovery.
With a full range of dumbbells, cable machines and specialised benches, The New Gym invites you to try 7 days of free training at any of our 16 locations open 24/7 nationwide.

💪Articles on biceps
A collection of 8 articles about biceps, ordered by how often they are read.
- A Guide to Proper Barbell Curl Technique
- How to do the Zottman Curl effectively for your biceps
- Calisthenics Secrets for Seriously Big Biceps
- What is the Cable Curl? A guide to proper technique
- How to do the Preacher Curl with proper technique for beginners
- Hammer Dumbbell Curl: Proper technique and benefits
- Incline Dumbbell Curl: proper technique to avoid shoulder pain
- Dumbbell Curl: proper, effective technique for your biceps
About The New Gym
The New Gym is a gym chain with 15 clubs in Ho Chi Minh City, Can Tho, Da Nang and Dong Nai. Most clubs are open 24/7, while Can Tho and Bien Hoa are open from 5am to midnight (see opening hours for each club). Memberships start from 299,000 VND/month on the 6-month plan, including 11+ free group classes. Guided by our “Gym for everyone” philosophy, first-time visitors get a 7-day free trial.
📞 Hotline: 1900 63 69 20
📌 Facebook: facebook.com/thenewgymvietnam
💬 Zalo: zalo.me/4267108480570109866


